I. Model‑Related Terms
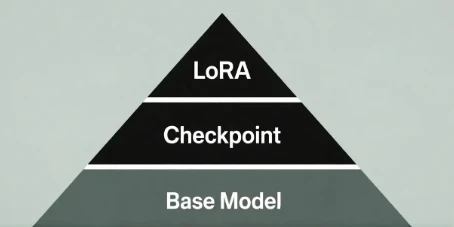
1. Base Model
Open‑source base models:
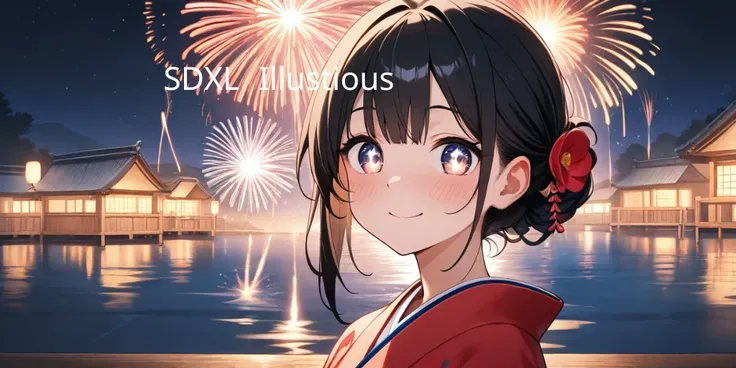
The Stable Diffusion family (e.g., SD1.5, SDXL) and the Flux family.
Their weights are public, so users and developers can continue training on top of them to obtain various high‑quality feature models (checkpoints).
Closed‑source base models:
DALL·E, Midjourney, Gemini Image, etc.
These can only be used through official products or APIs; their weights are not public and cannot be further trained locally.
> In short: a base model is the lowest‑level “big model”.
> Open‑source → you can keep training it.
> Closed‑source → you can only use it, not modify it.
2. Checkpoint
A fully trained model built on top of a base model.It can be used directly to generate images or videos.Different checkpoints usually correspond to different art styles, levels of detail, and use cases.
3. LoRA
A small fine‑tuning model built on top of an existing large model (checkpoint), used to output a specific style.It is lightweight and cannot be used alone. It must be applied together with a checkpoint from the same base‑model family.
Common use cases: adding a specific artist’s style, character design, clothing, composition habits, etc., so that the same base model can produce very different “flavors”.
Example:
> This is a LoRA model trained on the SDXL base model, specialized for anime‑style girls.
> To use it, you first choose an XL (SDXL) checkpoint, then apply this LoRA on top.
> If you apply it on a non‑XL base model, it will not work as expected.
After understanding the basic model concepts, the next step is to look at the key generation parameters that directly affect the final result.
II. Generation Parameters
1. Prompt
The “instruction” you write for the model, telling it what to draw or generate.
It decides the subject, actions, scene and style of the image/video.
A good structure is: “subject + action/scene + style + details”, which works better than just piling up adjectives.
2. Negative Prompt
Prompts that tell the model what you do NOT want to appear.
Used to suppress common issues like blurry faces, extra fingers/limbs, random text, strange backgrounds, etc.
3. Some Advanced Settings
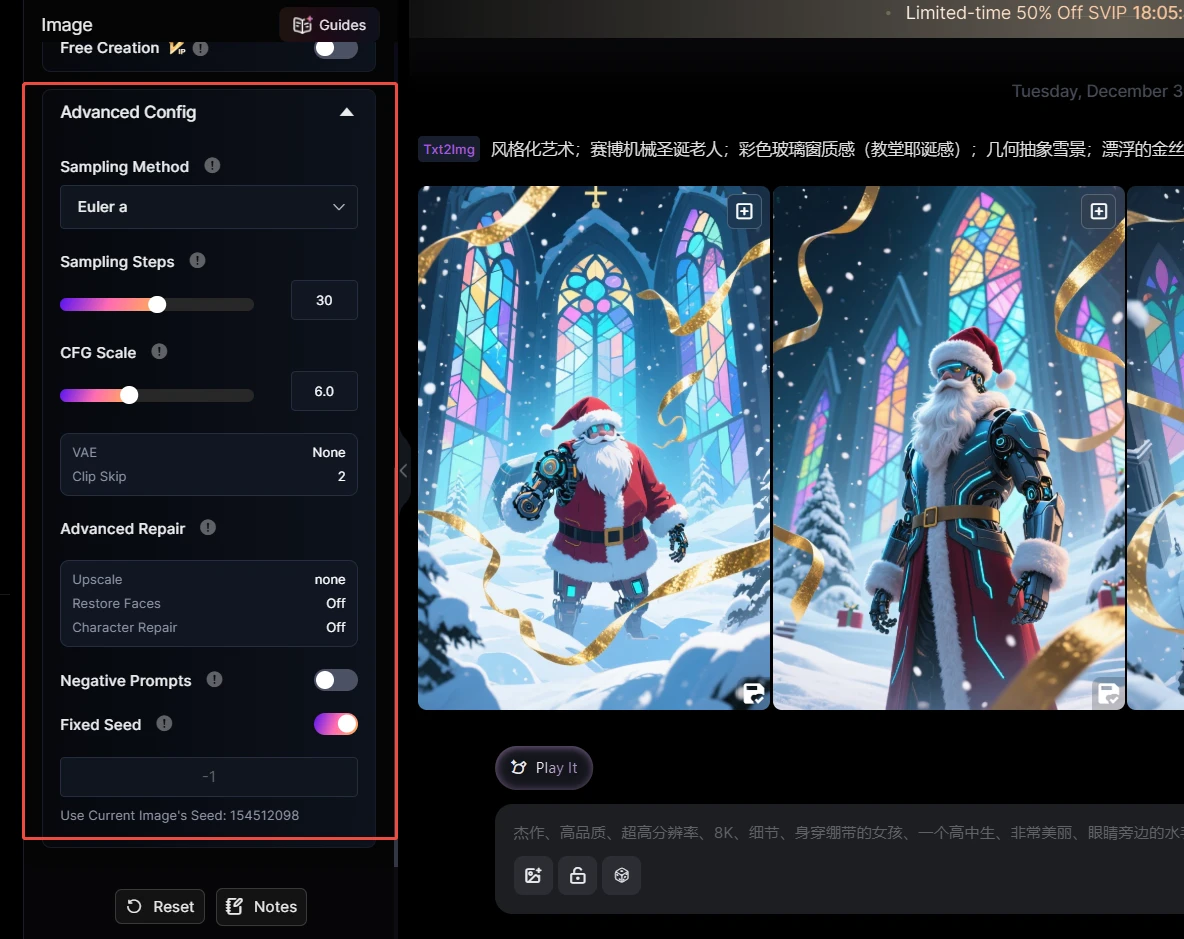
①Sampling Method
The algorithm that defines “how each denoising step is taken”.
For beginners, just use the sampler recommended by the model.
②Sampling Steps
The number of iterations the model uses to turn noise into a clear image.
More steps usually mean more detail but slower generation; after a certain point, the improvement is minimal.
In most cases, follow the model’s recommended range (e.g., 20–30).
③CFG Scale
Controls how strongly the model follows your prompt.
Most models will provide a recommended value; using that is usually enough.
④Fixed Seed
Using the same seed + same parameters can reproduce an image/video with a very similar structure.
Usually you can leave it random; when you want to tweak a picture slightly while keeping the overall composition, fix the seed and adjust other settings.
> In summary:
> For beginners, the most important thing is learning how to write good prompts.
> Most advanced parameters can be left at the model’s default/recommended values; you don’t need to tweak everything manually.
III. Creation Workflow & Tools
1. Text‑to‑Image / Image‑to‑Image
①Text‑to‑Image:
Use only a text prompt and let the AI generate an image or a short video from scratch.
> Suitable for: your very first creations, or when you don’t have any reference image yet (creating “from nothing”).
②Image‑to‑Image:
Provide an existing image plus a text prompt, and let the AI modify it according to the original shape and compositione.
> Suitable for: second‑round creation on top of existing work, such as changing style, adding details, recoloring, etc.
2.Repaint / Smart Edit
①Repaint :
Paint over the area you want to change with a brush, then use a text prompt to let the AI redraw only that selected region.
> E.g., fix a face, repair hands, change a part of the background, etc.
②Smart Edit:
Directly describe in text how you want to change the entire image, and let the AI modify it while keeping the basic composition intact.
> E.g., “change white clothes to red”, “turn daytime into sunset”, “make the style anime‑like”.
3. ComfyUI / SeaArt Flow
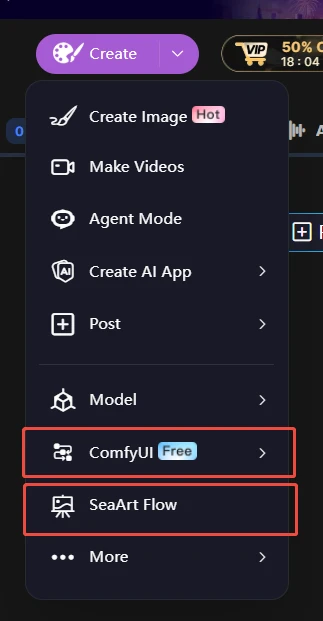
①ComfyUI
A visual workflow tool that connects operations as node graphs.
Commonly used by advanced users to build complex workflows.
Nodes can be very granular, with control over the model, VAE, sampler, noise, and other low‑level details.
Suitable for users who enjoy experimenting with sophisticated and highly customized pipelines.
②SeaArt Flow
Flow is SeaArt’s built‑in visual AI workflow system.
You can connect steps like “write script → generate images/videos → add effects → add voiceover” in a chain, like building blocks, and let the AI run through them in order.
You can save and reuse your own Flows, and even publish them as AI Apps so other users can one‑click use them.
(Official guide: https://www.seaart.ai/articleDetail/d4rq3g5e878c73fkit4g)
> In short:
> Flow is a more user‑friendly, production‑line style workflow inside SeaArt, good for everyday creation and for turning workflows into AI Apps.
> ComfyUI is a more “raw” node editor with very fine‑grained control, suitable for advanced users who want to play with complex or experimental workflows
That’s all for today’s glossary sharing!
If you run into any other terms in SeaArt that you don’t understand, or if there’s anything in this article that’s still unclear,feel free to ask in the comments.
We’ll keep updating and expanding this “AI Terminology Mini‑Dictionary” based on your questions.
Let’s slowly turn all these scary‑sounding terms into handy little tools 😊