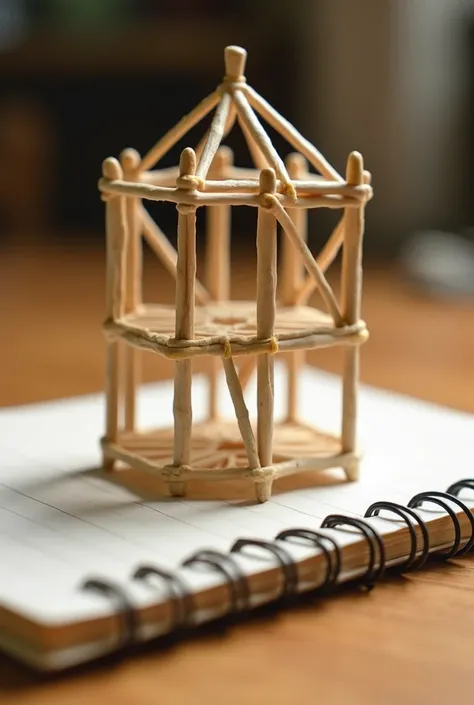
Manual for assembling a crib God Required materials : • 11 palos de helado
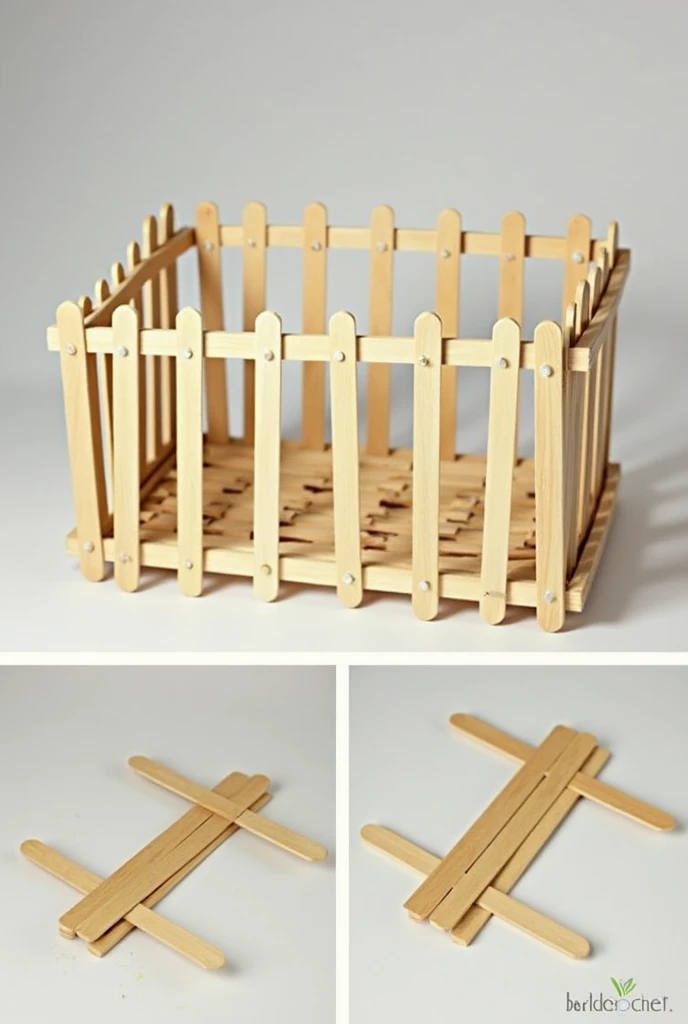


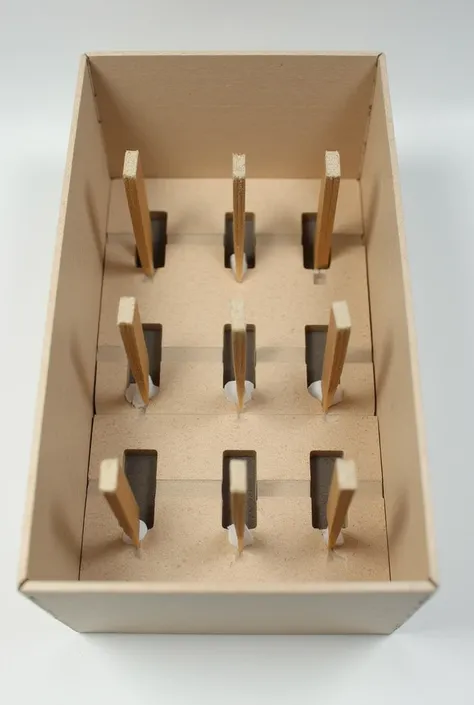
Manual for assembling a crib God Required materials : • 11 palos de helado • Silicona caliente • Cabuya o jute thread ________________________________________ Step 1: Create two 'X' 1 . Take 4 sticks of ice cream . 2. Glue two sticks in the shape of 'X' , making sure they are well joined in the center . 3. Repeat this step to make a second 'X' . These will form the base of the crib . ________________________________________ Step 2: Create the sides of the crib 1 . Take 3 sticks of ice cream . 2. Paste them in parallel , making sure they are aligned . 3. Repeat this step to form the other side of the crib . Now you will have two sides . ________________________________________ Step 3 : To form the floor of the crib 1 . Take the two sides you made in step 2 . 2. Glue each side to a single stick at the bottom , forming the floor of the crib . 3. Make sure the sides are tilted slightly outwards to give stability to the crib. ________________________________________ Step 4: Join the sides to the base 1 . Take the two 'X' you made in step 1 . 2. Glue each 'X' to the ends of the sides of the crib . 3. This will ensure that the crib is well armed and stable . ________________________________________ Step 5 : Create the straw of the crib 1 . Use the cabuya (jute thread ) to simulate the straw of the crib .
프롬프트
Copy prompts
Manual for assembling a crib God
Required materials :
• 11 palos de helado
• Silicona caliente
• Cabuya o jute thread
________________________________________
Step 1: Create two 'X'
1
.
Take 4 sticks of ice cream
.
2
.
Glue two sticks in the shape of 'X'
,
making sure they are well joined in the center
.
3
.
Repeat this step to make a second 'X'
.
These will form the base of the crib
.
________________________________________
Step 2: Create the sides of the crib
1
.
Take 3 sticks of ice cream
.
2
.
Paste them in parallel
,
making sure they are aligned
.
3
.
Repeat this step to form the other side of the crib
.
Now you will have two sides
.
________________________________________
Step 3 : To form the floor of the crib
1
.
Take the two sides you made in step 2
.
2
.
Glue each side to a single stick at the bottom
,
forming the floor of the crib
.
3
.
Make sure the sides are tilted slightly outwards to give stability to the crib
.
________________________________________
Step 4: Join the sides to the base
1
.
Take the two 'X' you made in step 1
.
2
.
Glue each 'X' to the ends of the sides of the crib
.
3
.
This will ensure that the crib is well armed and stable
.
________________________________________
Step 5 : Create the straw of the crib
1
.
Use the cabuya (jute thread ) to simulate the straw of the crib
.
정보
Checkpoint & LoRA

Checkpoint
SeaArt Infinity
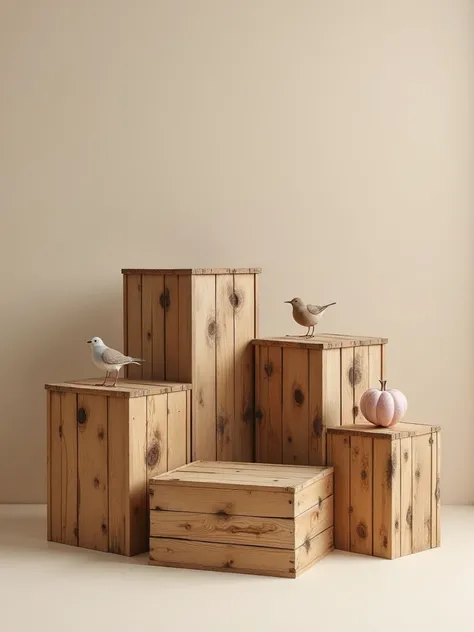
#still_life
#render
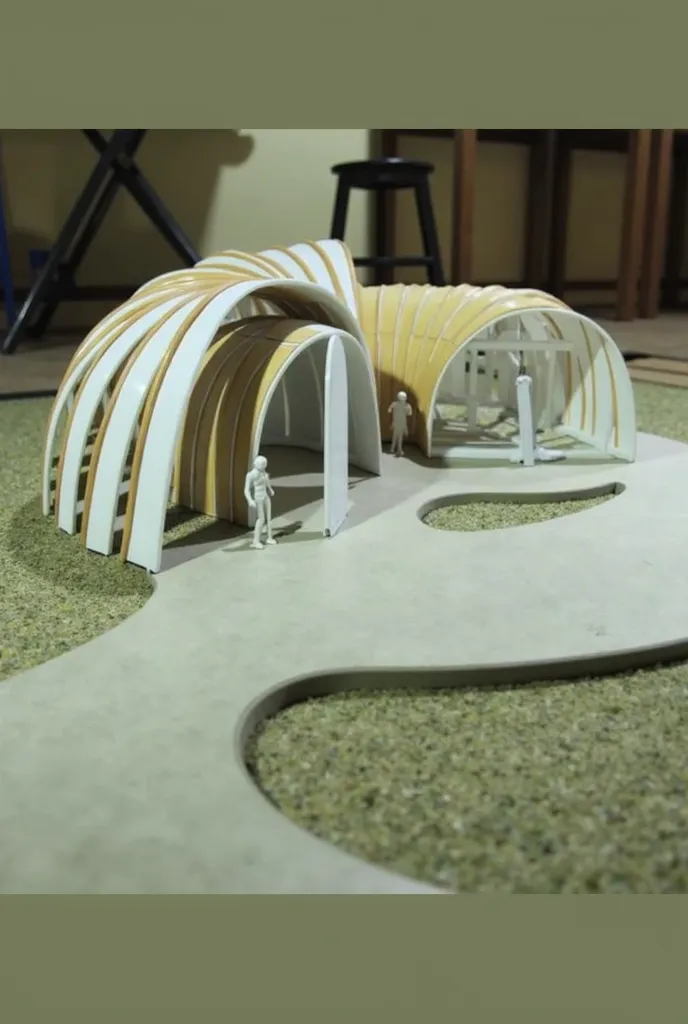
#건축 디자인
#SeaArt Infinity
0개의 댓글
1
0
0