Fine-tuning AI models has become more accessible, thanks to user-friendly platforms like SeaArt.ai. If you’re looking to train your own LoRA (Low-Rank Adaptation) model for custom AI-generated art, this guide will walk you through the process in just three easy steps.
Step 1: Login or Sign Up on SeaArt.ai
To start, head over to SeaArt.ai and create an account or log in. Once inside:
- Navigate to the Home Panel.
- Click on Train Model - LoRA.


This brings you to the model training interface where the magic begins.

Step 2: Prepare Your Dataset and Configure Model Settings
In this step, you’ll upload your images and define the training parameters:Upload Your Images
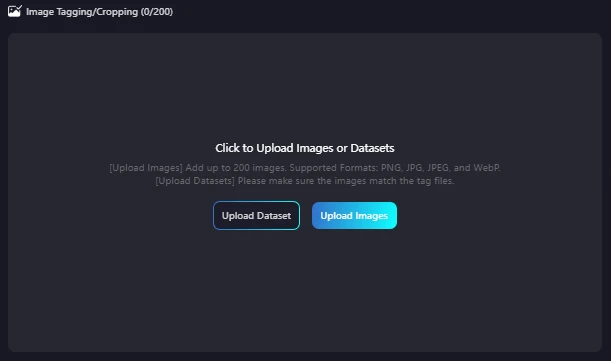
- On the training page, upload a dataset of 20 to 200 images. Ensure the images are high quality and relevant to your desired output.
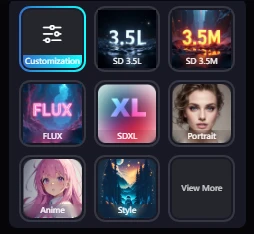
Select a base model. Options include:
- SD.3 L
- SD.3 M
- SDXL
- FLUX
- Portrait
- Anime, etc.
Choose Parameters
You can choose Auto Parameters for ease or configure them manually:
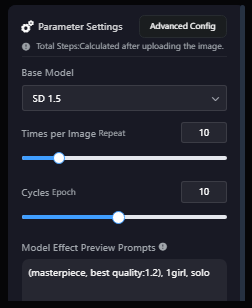
- Epochs: Number of training cycles.
- Repeat Images: Determines dataset repetitions.
- Prompt/Base Model: Customize or use defaults.
Crop and Tag Your Dataset
Select the cropping type:
- Center Crop
- Focus Crop
- No Crop
Choose resolution options:
- 512x512 (default)
- 512x786 (portrait)
- 786x512 (landscape)
- 1024x1024 (SDXL)
Define styles like:
- DeepBoru (default)
- Caption (for FLUX/SD.3)
Specify Trigger Words for the model.
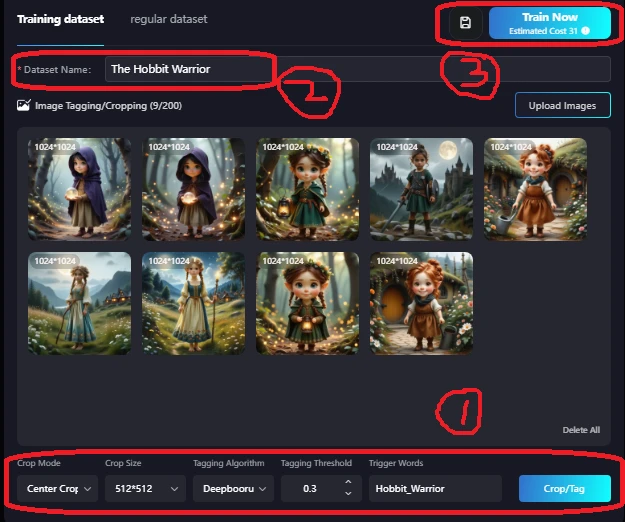
After these selections, click Crop/Tag. This step prepares and tags your dataset for training.
Step 3: Train and Publish Your LoRA
Finalize Tagging
- Review and refine the tags of individual images.
- Add or remove prompts manually to ensure accuracy.
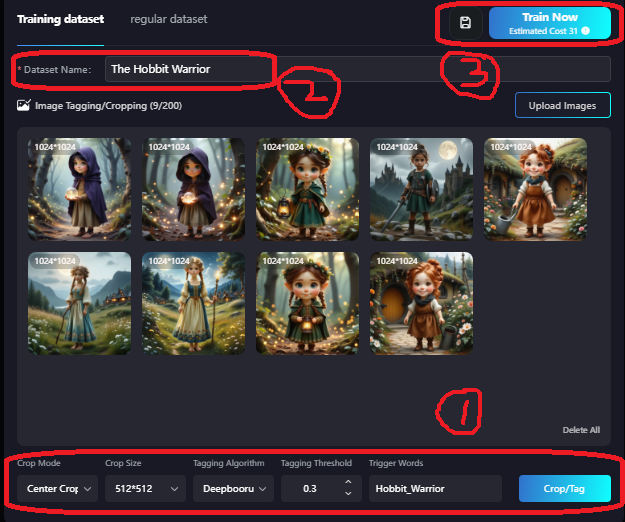
- Once satisfied, click Train Now.
SeaArt will display the training cost (credits required). You can save the configuration for later if needed.
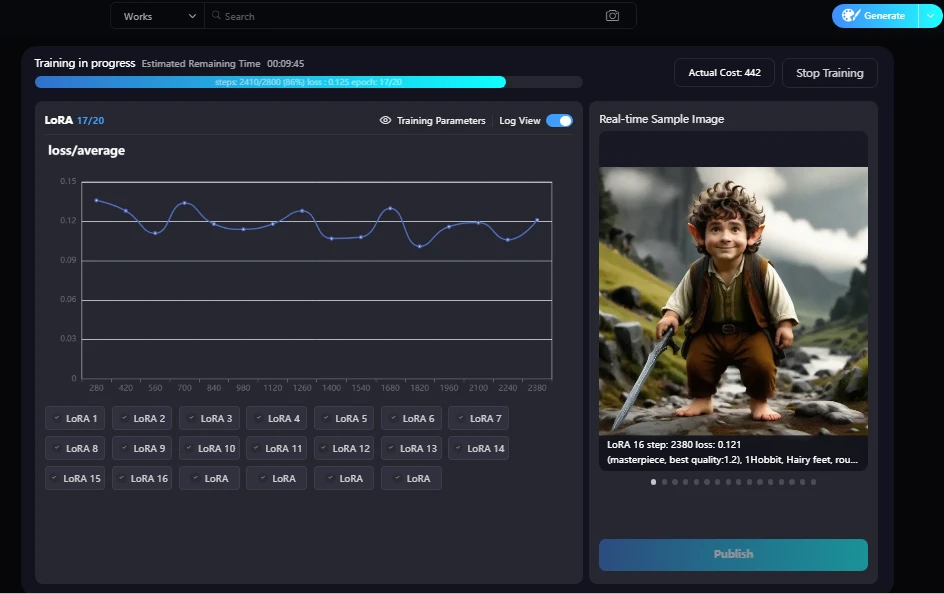
Monitor Training
Track the progress in real time:
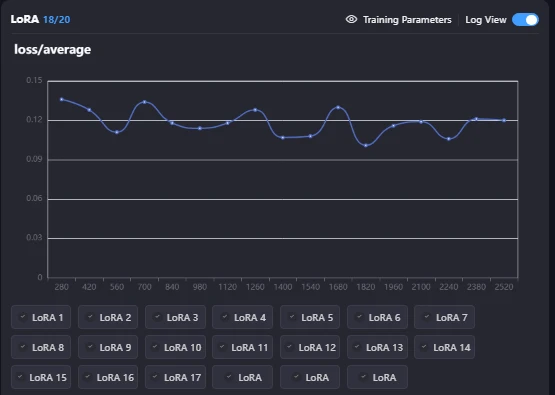
- Steps: Higher steps yield better quality.
- Loss: Lower loss indicates effective training.
Select the Best LoRA and Publish
After training is complete:
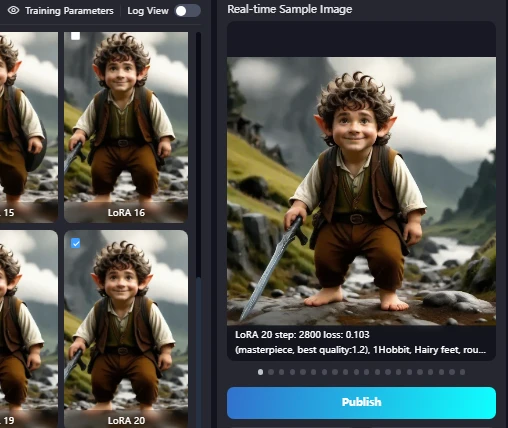
- Review trained LoRA versions (Epochs 1–20).
- Choose the best-performing LoRA and click Publish Now.
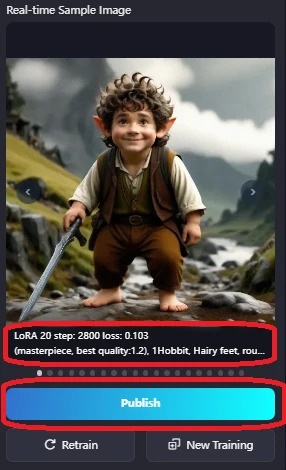
A new window will guide you through publishing:
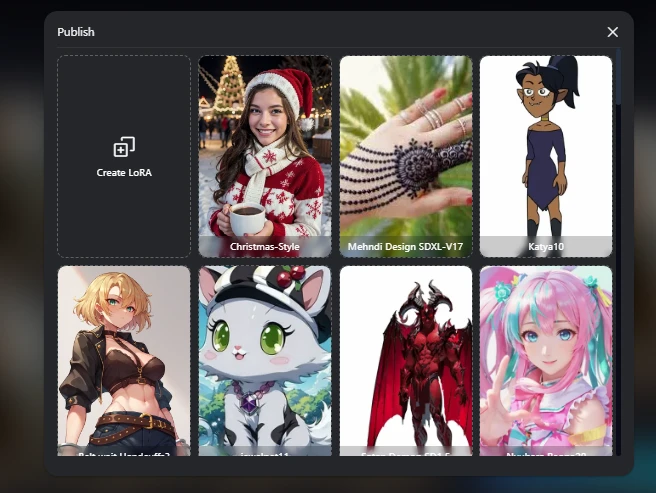
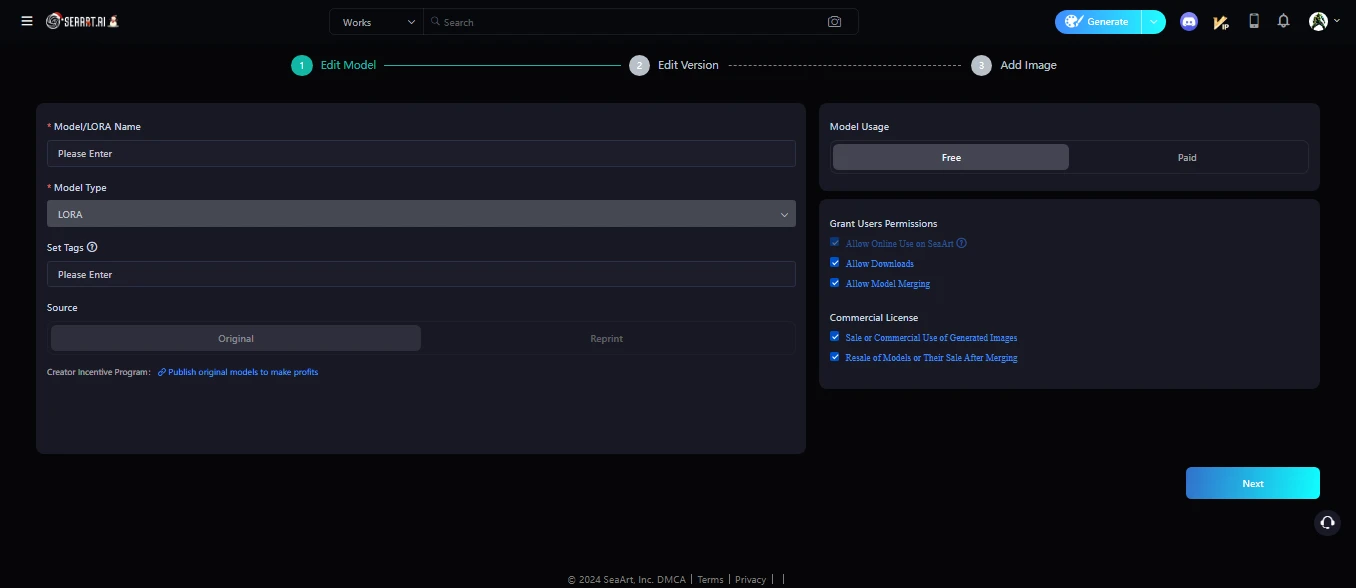
First Display:
- Choose New LoRA (for new training) or Version (for updates "describe in end of the Artical").
- Provide a name, tags, and permissions. Set usage (free or paid) with credit requirements if applicable.

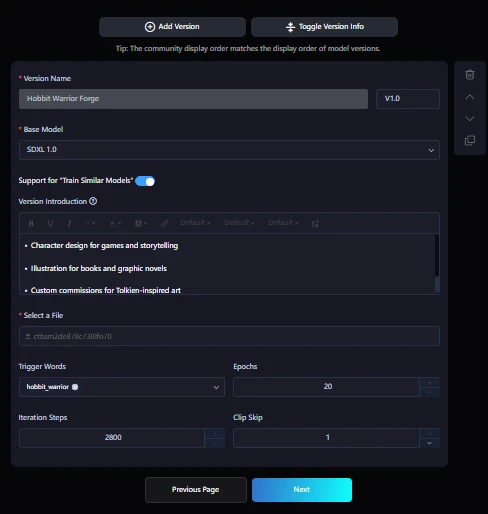
Second Display:
- Add a description, trigger words(which must be unique and same as training, epochs, steps, and clip skip (default: 1).
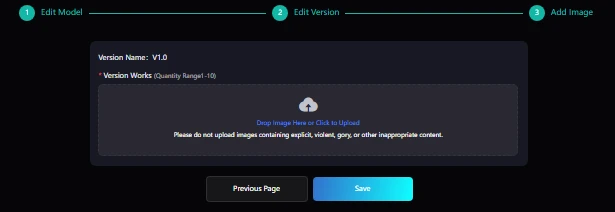
Third Display:
- Select and upload trained/generated images.
- If you first save your training lora , here auto show Lora own trained Image.
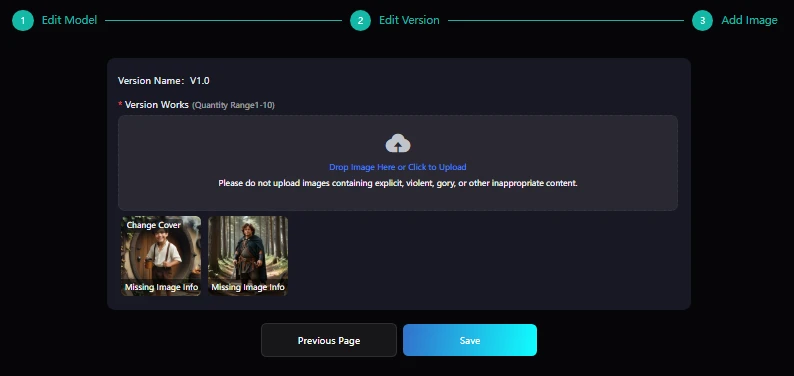
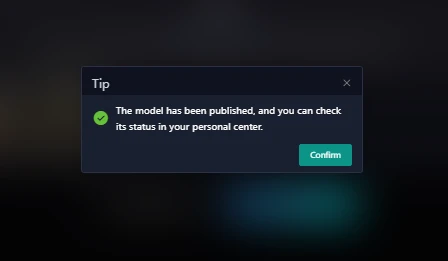
Click Save to finalize. You can now use your custom LoRA to generate images.
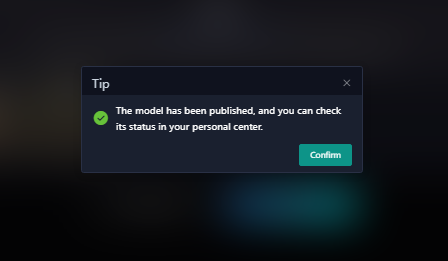
For Lora Version:
- Select Trained Lora for given Epochs.
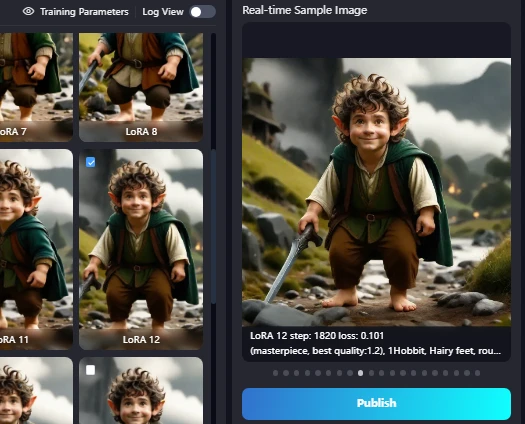
- Click Publish after selection new Trained Lora.
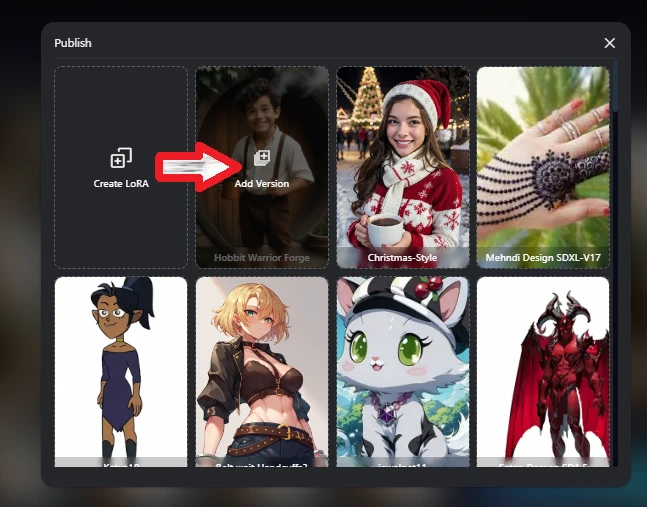
- now this time you Select Version instead of New Lora in New Window.
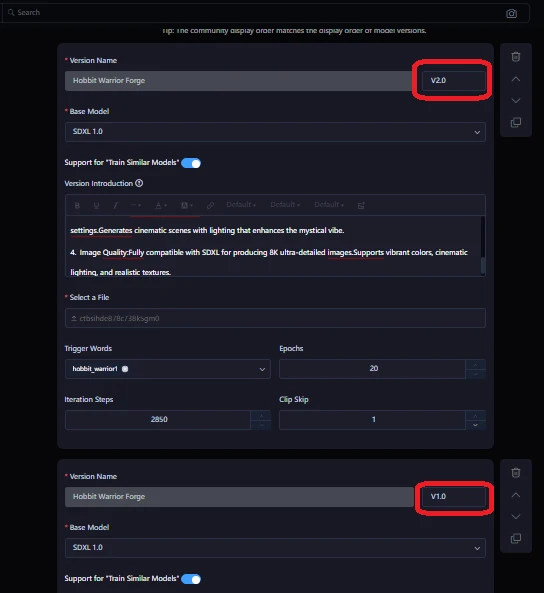
- Fill Requirement for publishing Version.
- you must Add Version(V1.2 or V2.0) not match to first.
- At the end Upload Version Lora Generated Image to Save as Version.
Conclusion
Training your own LoRA on SeaArt.ai is straightforward and accessible to beginners. With just three steps—logging in, preparing your dataset, and training—you can create custom AI models tailored to your artistic vision.
Written By: Ghulam Mujtaba
https://cdn1.resource-static-cdn.seaart.me/web/prod/img/creator_badge.9be0852.png
to support me: Use my model to Generate Images at: Civit.ai
to support me: Use my model to Generate Images at:Seaart.ai
Comment , Like and share!


