Comfy UI - is an open source, node based program. It is an alternative method to image generation from the conventional generate legacy UI on SeaArt.
SeaArt's website and discord have numerous guides that go in depth into specific elements in Comfy UI.
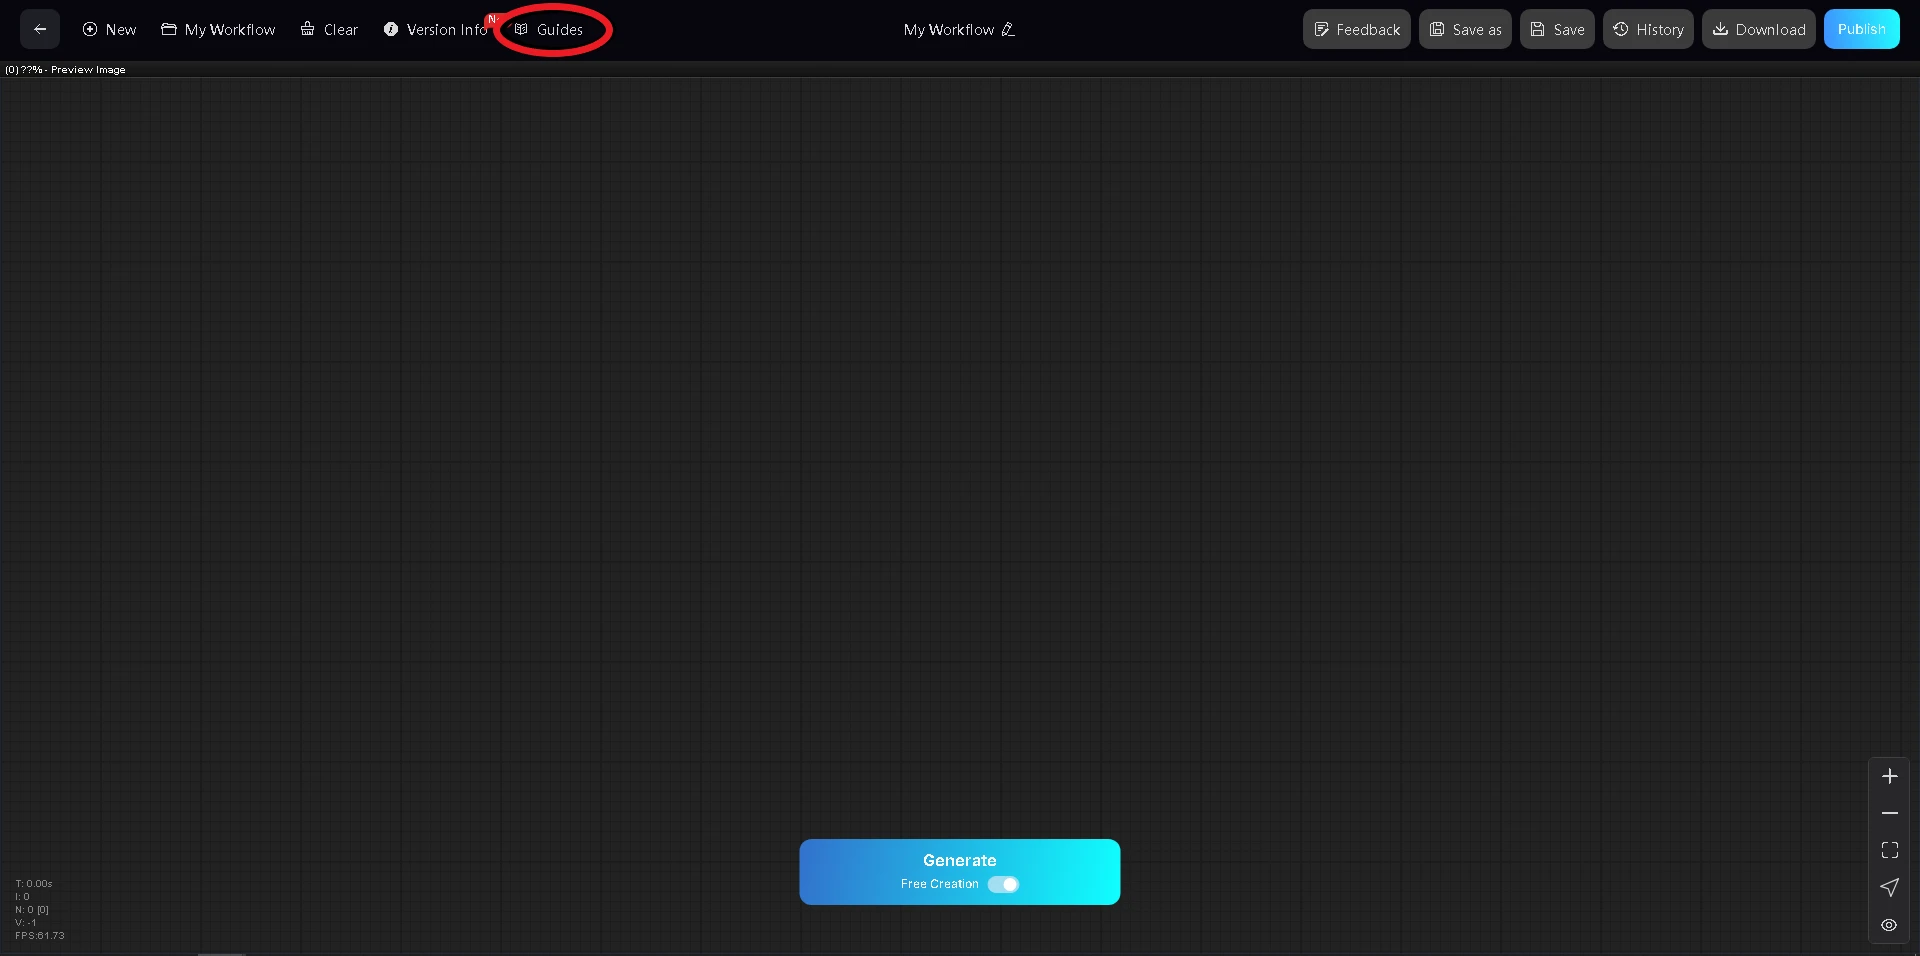
Clicking Guides at the top of the Comfy UI will take you to https://docs.seaart.ai/seaart-comfyui-wiki
The SeaArt discord has numerous guides for models and prompting in their advanced guides section https://discord.com/channels/1089843669944778822/1144201636638642217
I recommend taking some time to familiarize yourself with foundational elements of Comfy UI: nodes, conditioning, encoding, loaders, samplers, upscalers and control net (if applicable to your needs). These are just some of many nodes that you will be using in your Comfy UI workspace.
An example of the benefits of the Comfy UI guide
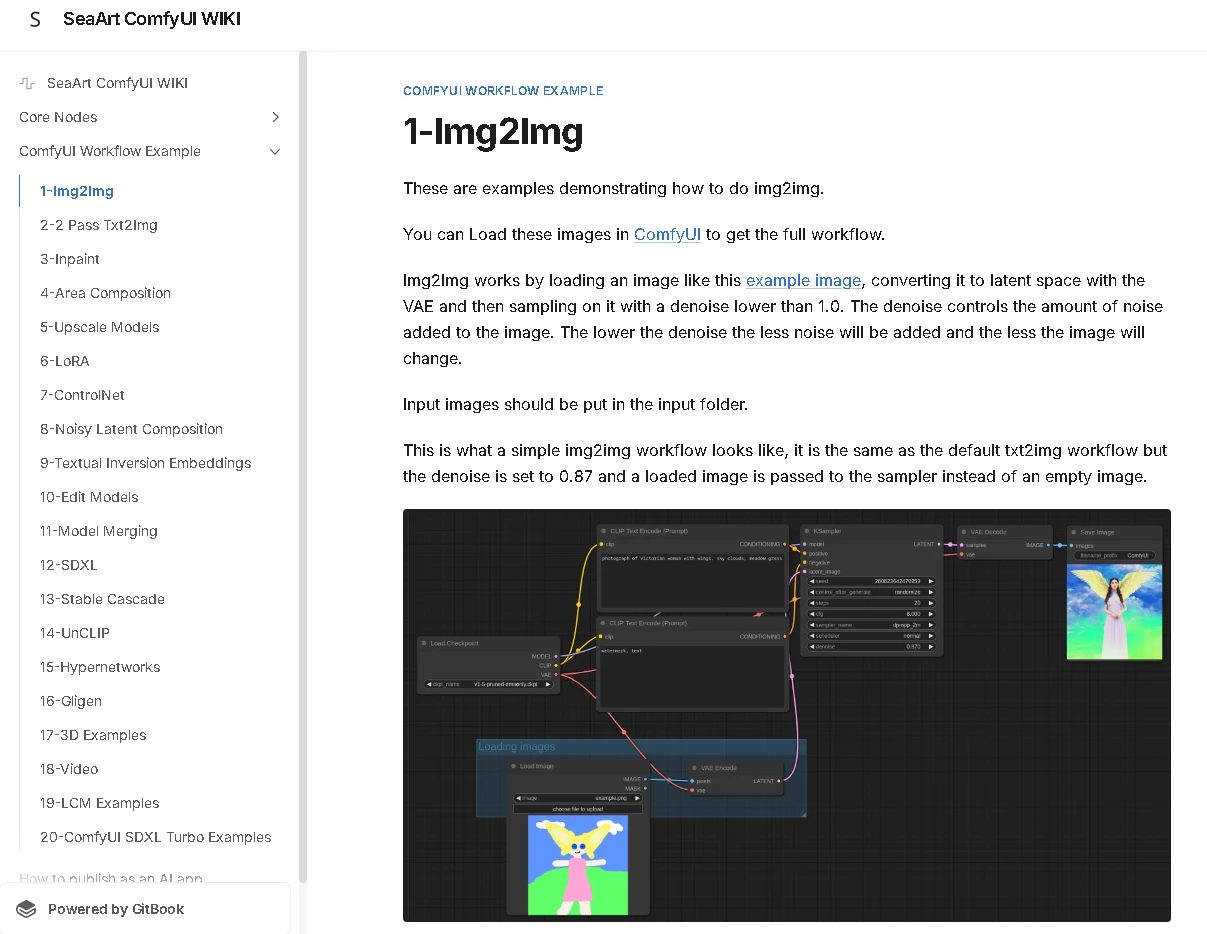
This is a photo example of how to build a img2img workflow in ComfyUI.
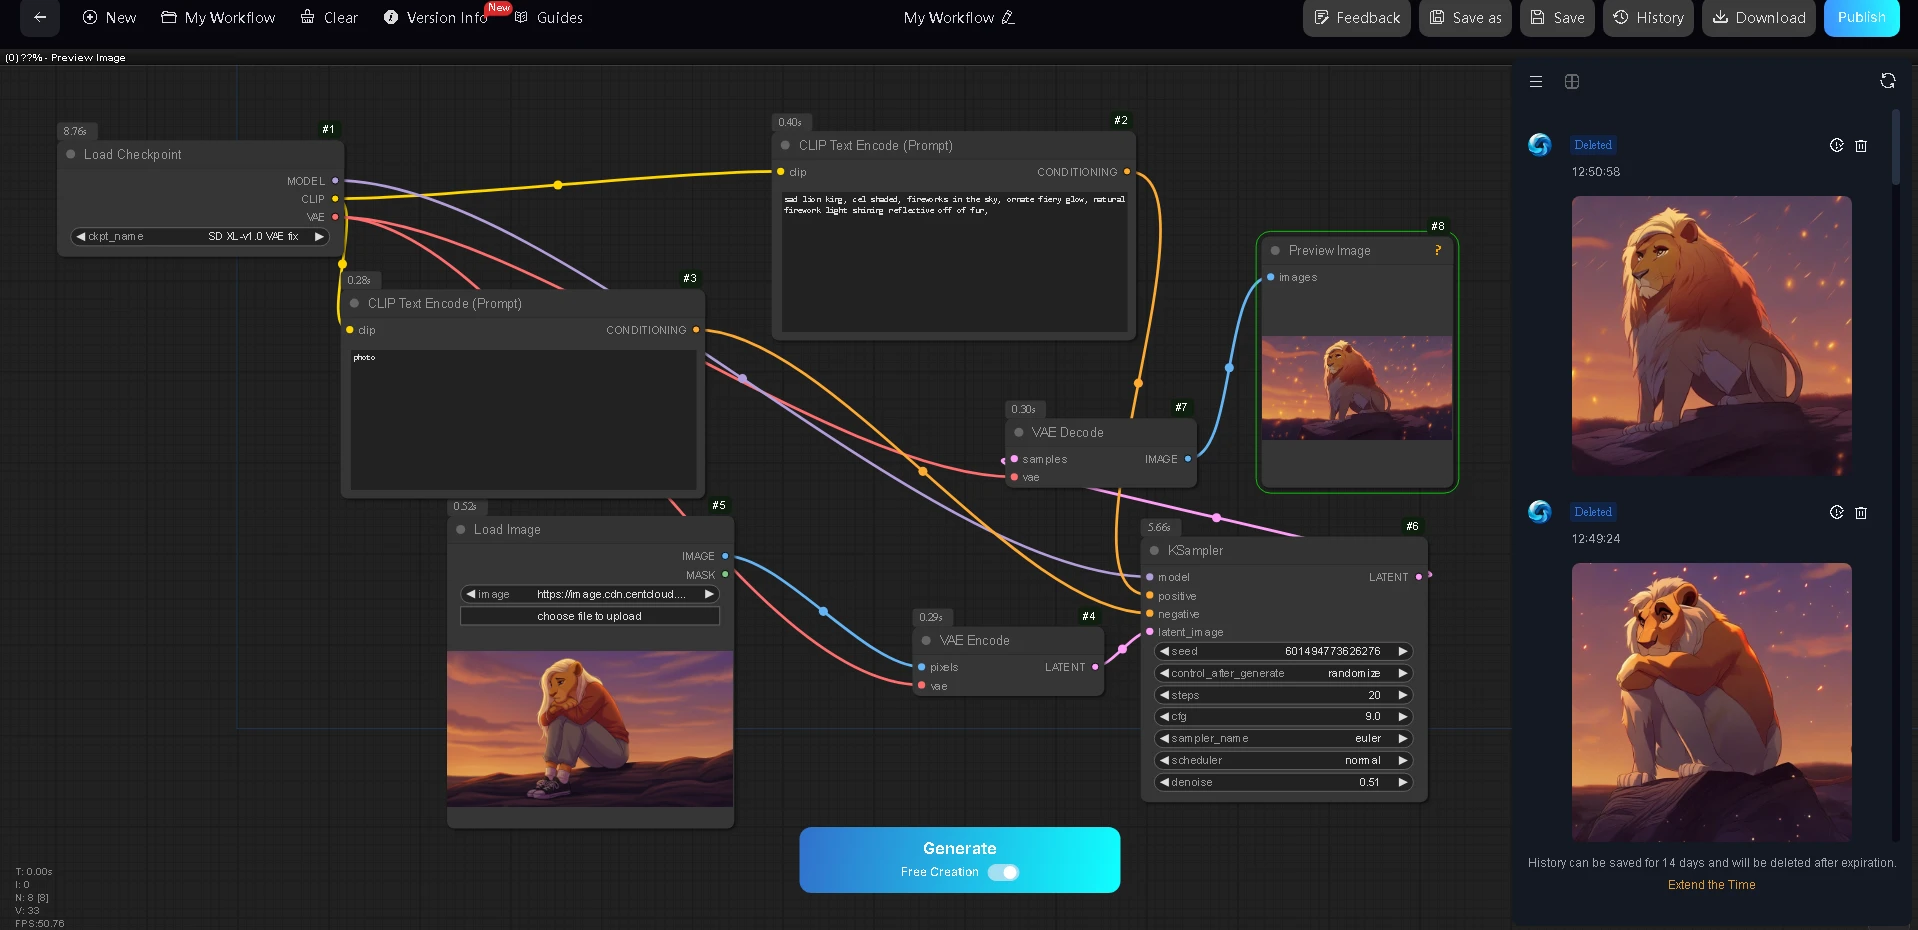
Step by step, I added each node, connected them, and was able to recreate the same workflow.
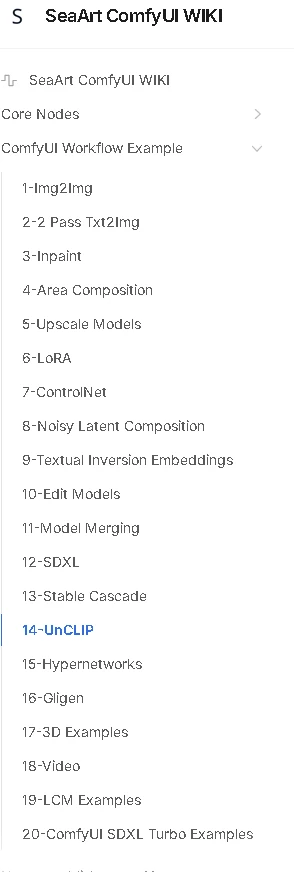
Most of the workflow examples can be used as a template for recreating and then remixing to your needs.
__
Getting Started - To navigate to the Comfy UI workflow, the two methods are either selecting the drop down blue create tab at the top and selecting Comfy UI, or navigating to your Workflow tab and selecting Create Comfy UI.
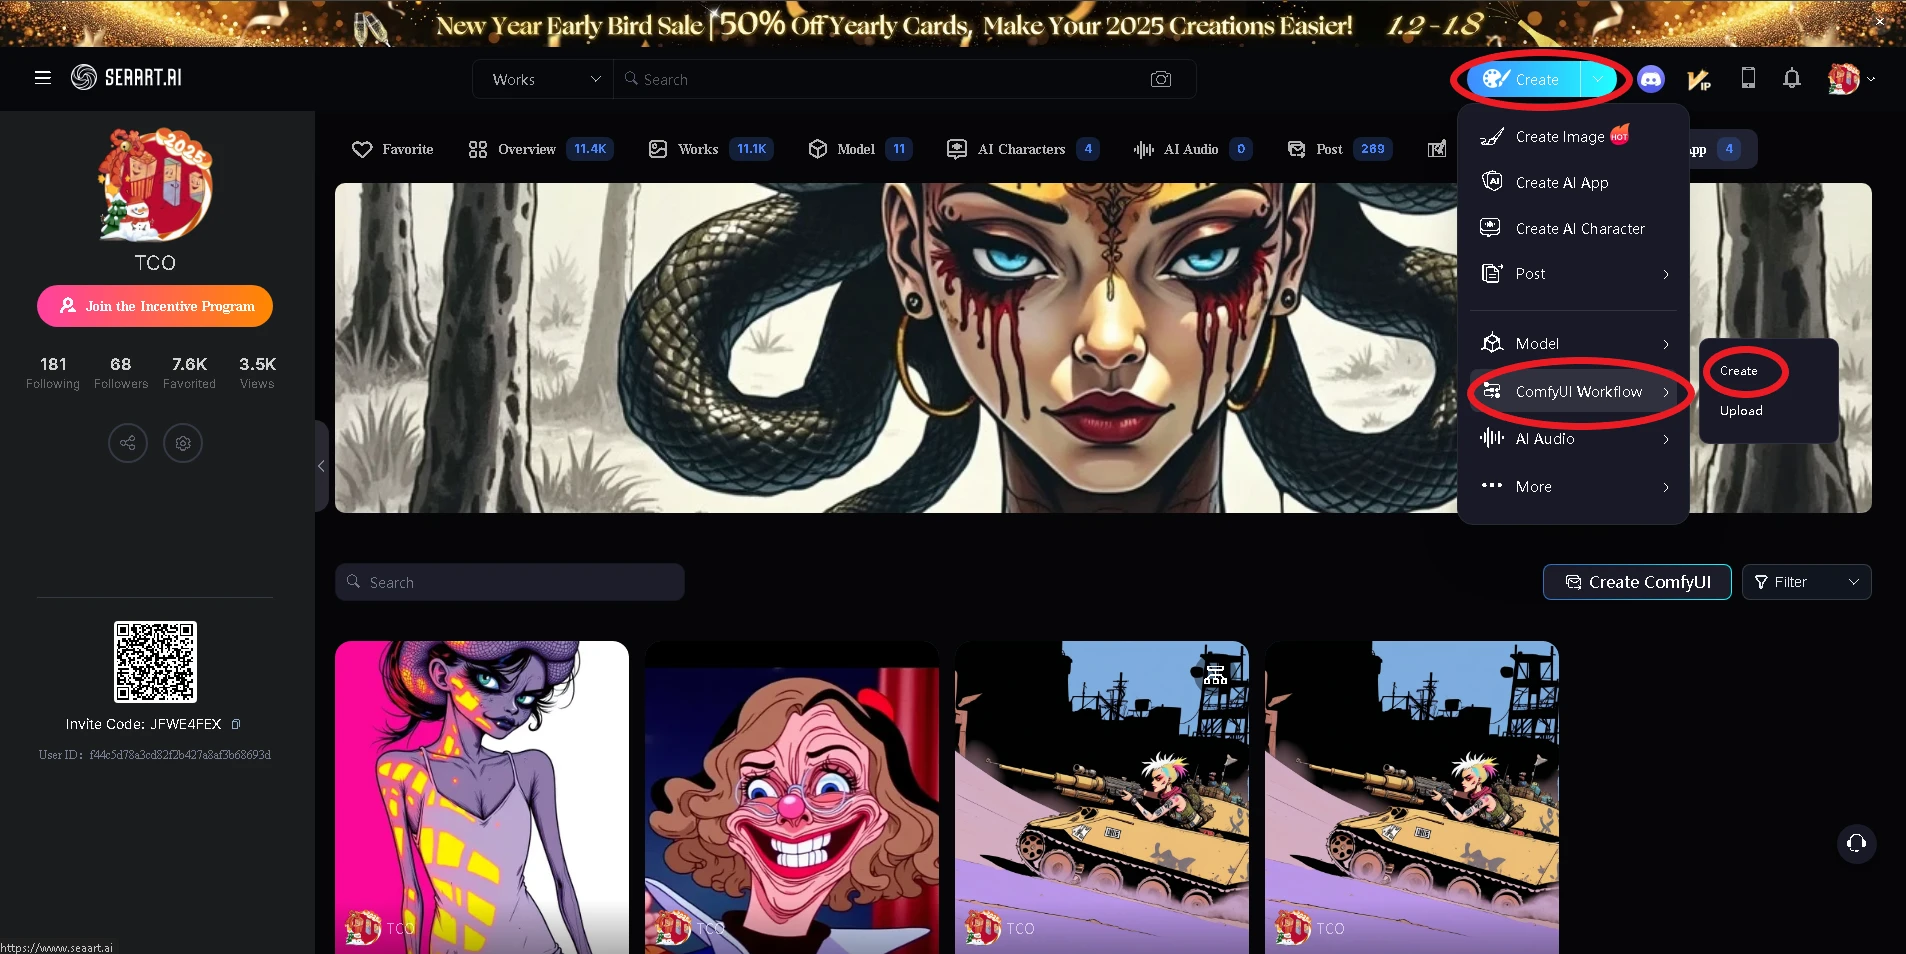
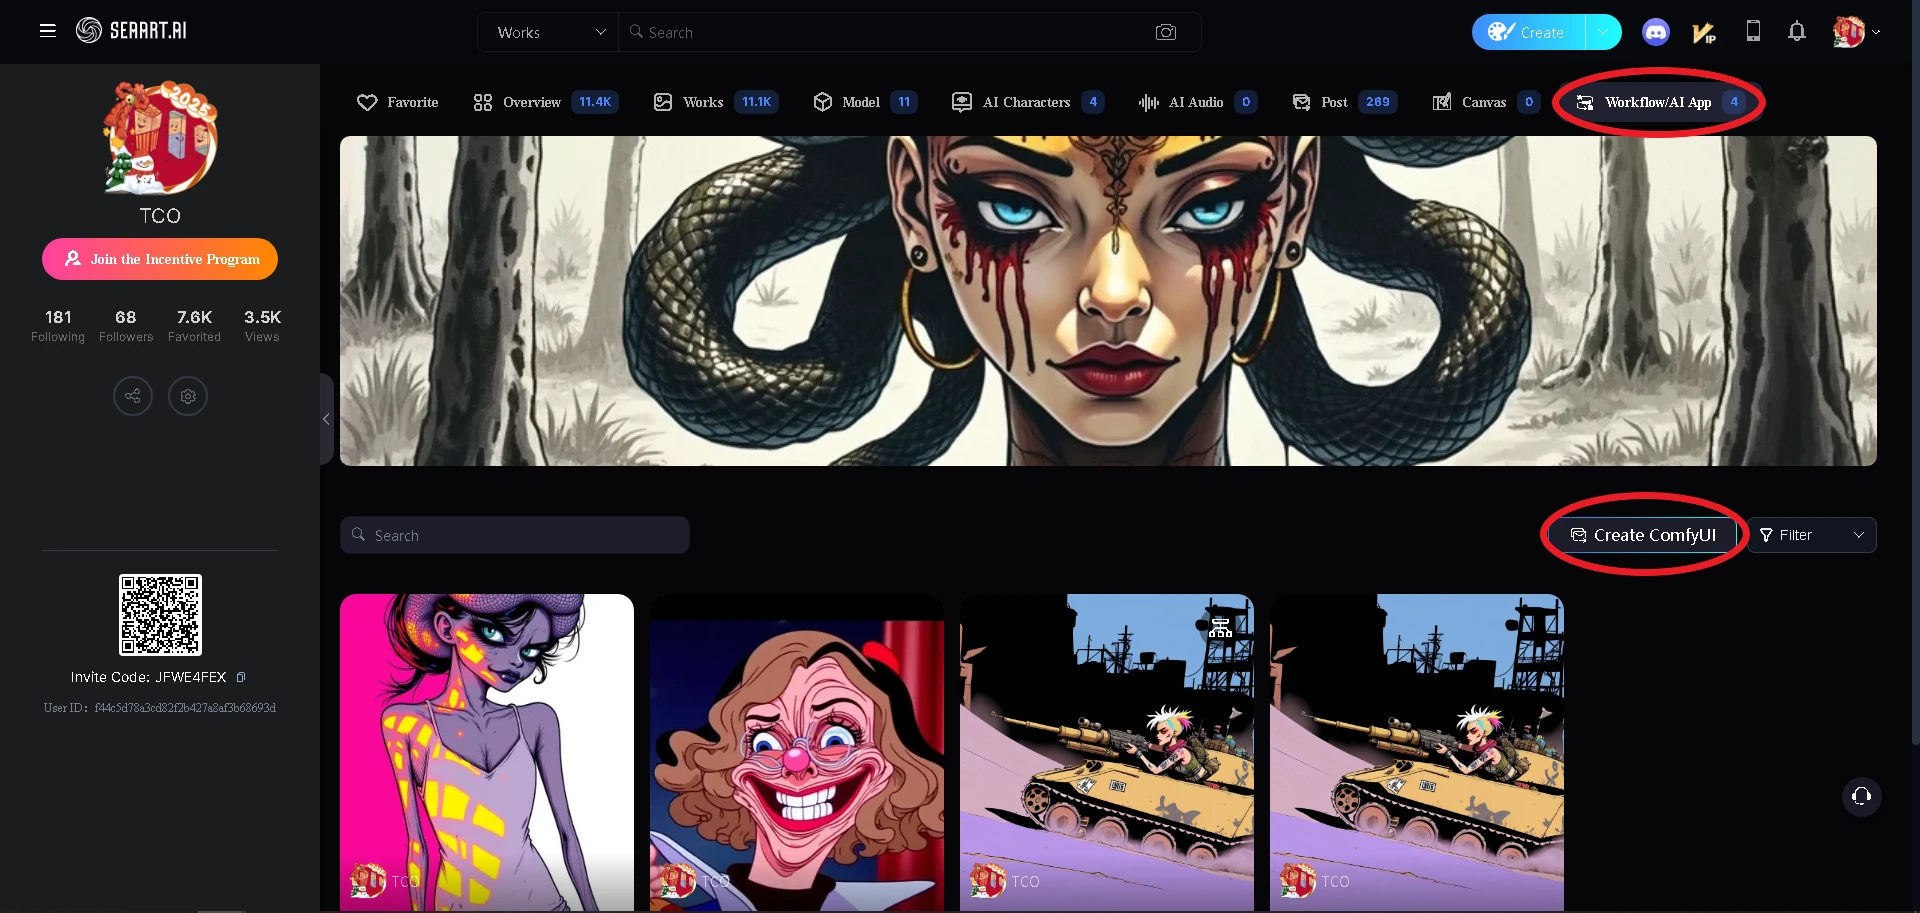
Starting your workflow, you have the option of blank workflow or selecting a premade preset to adjust to your needs.
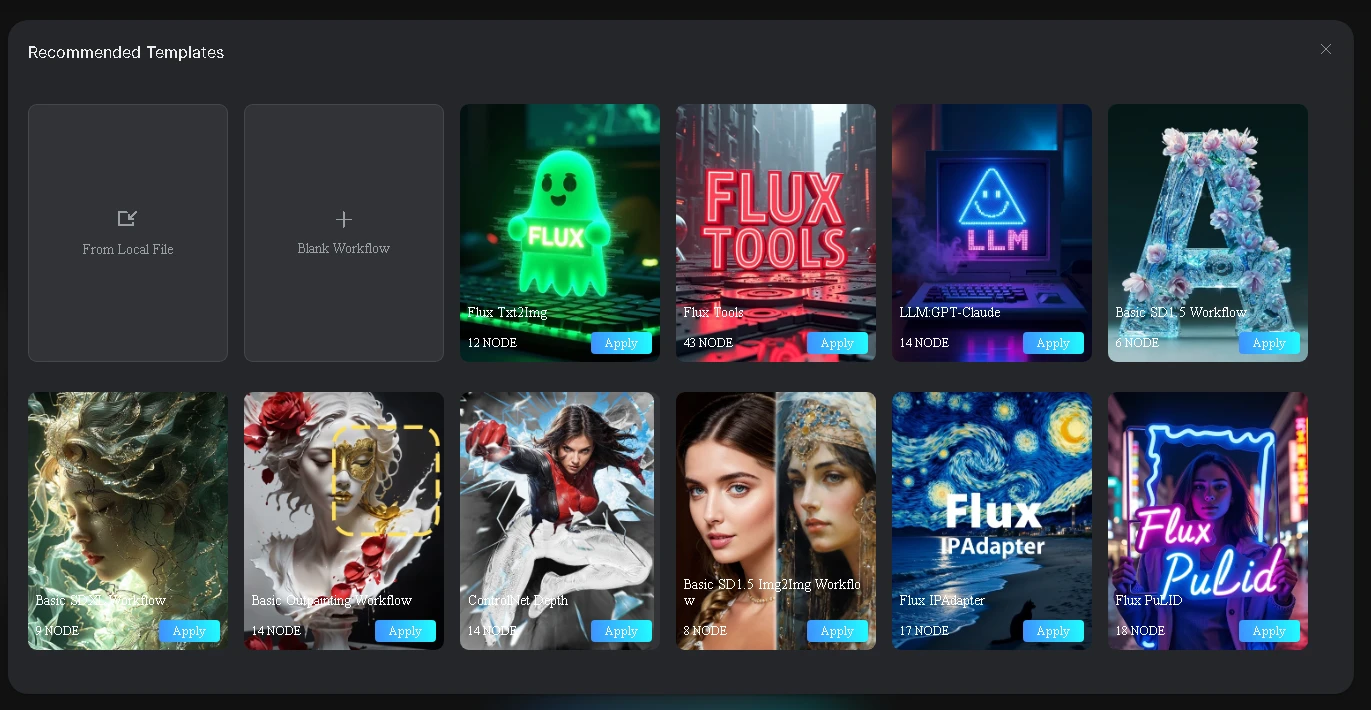
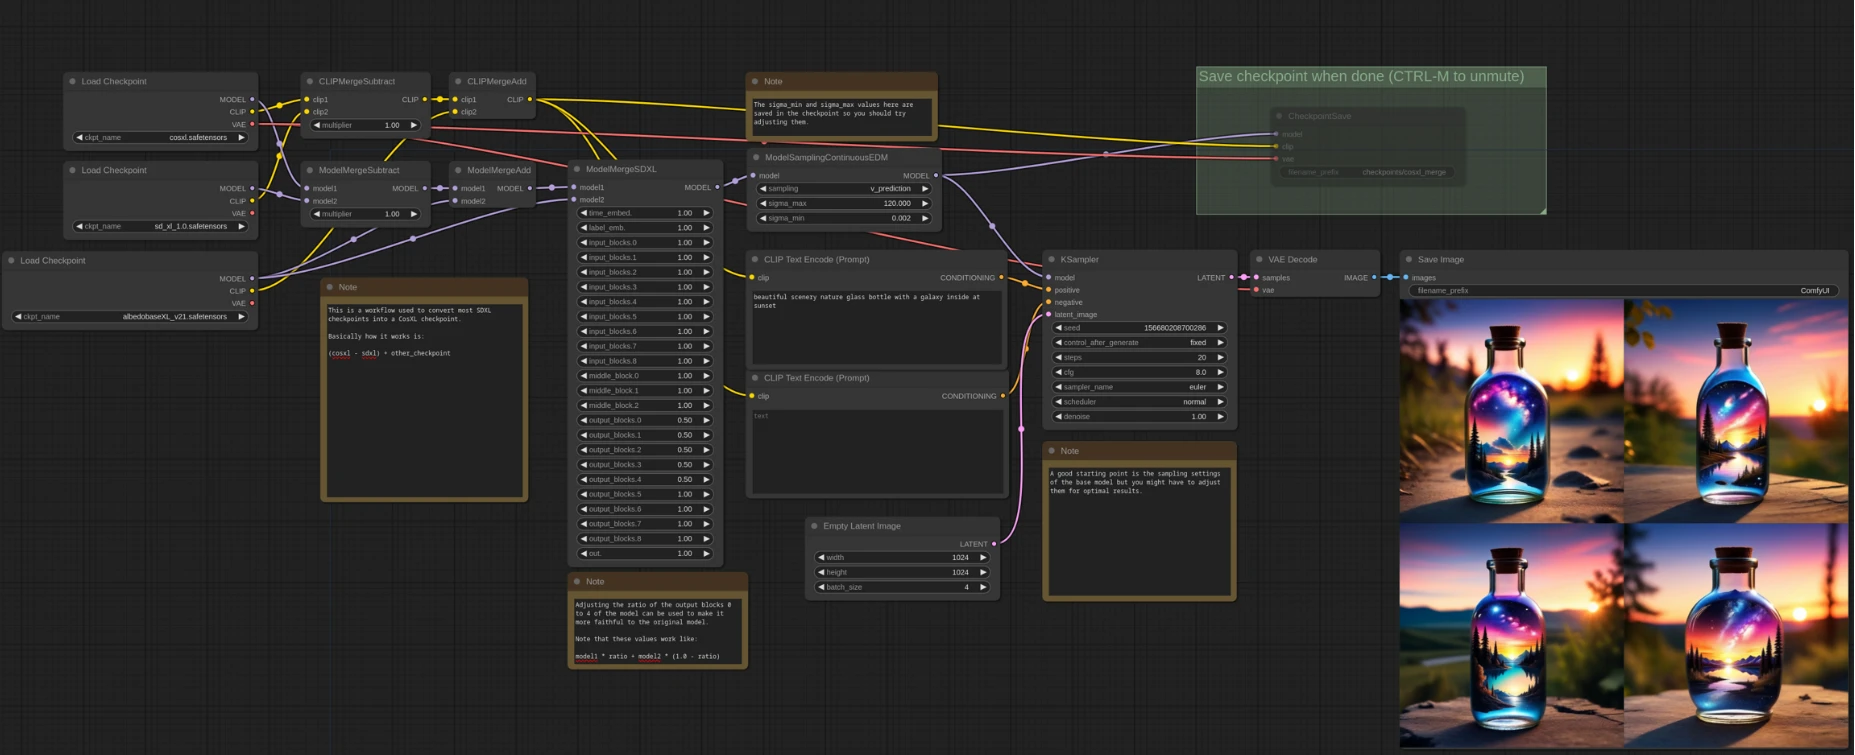
Before getting into the foundational elements, let's explore the overview of Comfy UI. This looks complicated, some might not know where to start, or even understand why you would use this method compared to the streamlined generate legacy mode. Admittedly I too enjoy the accessible legacy UI SeaArt has built in. Comfy UI is an advanced tool to allow you a different form of creation with much more control. With the ability to add various nodes, you can harness more control over the image making process. While this may seem daunting at first, there are several tangible steps to have success with Comfy UI and make it a rewarding experience.
I started using Comfy UI on SeaArt to see if I could blend two images together with image strength weight along with applying a LoRA VFX to the final image. It was an idea I had, that I was unable to generate through conventional methods in the legacy generator.



I was successful, and able to make a workflow that is not currently capable under the legacy mode generation. If you are persistent and creative you can make brand new workflows beyond the current capabilities of standard image generation. Comfy UI is close to limitless with the right mindset. Eventually you can upload these workflows as apps on SeaArt for other users to use as well.
__
Basics - Two important tools to be aware of to optimize your time and success with Comfy UI is the search tool, and reroute.
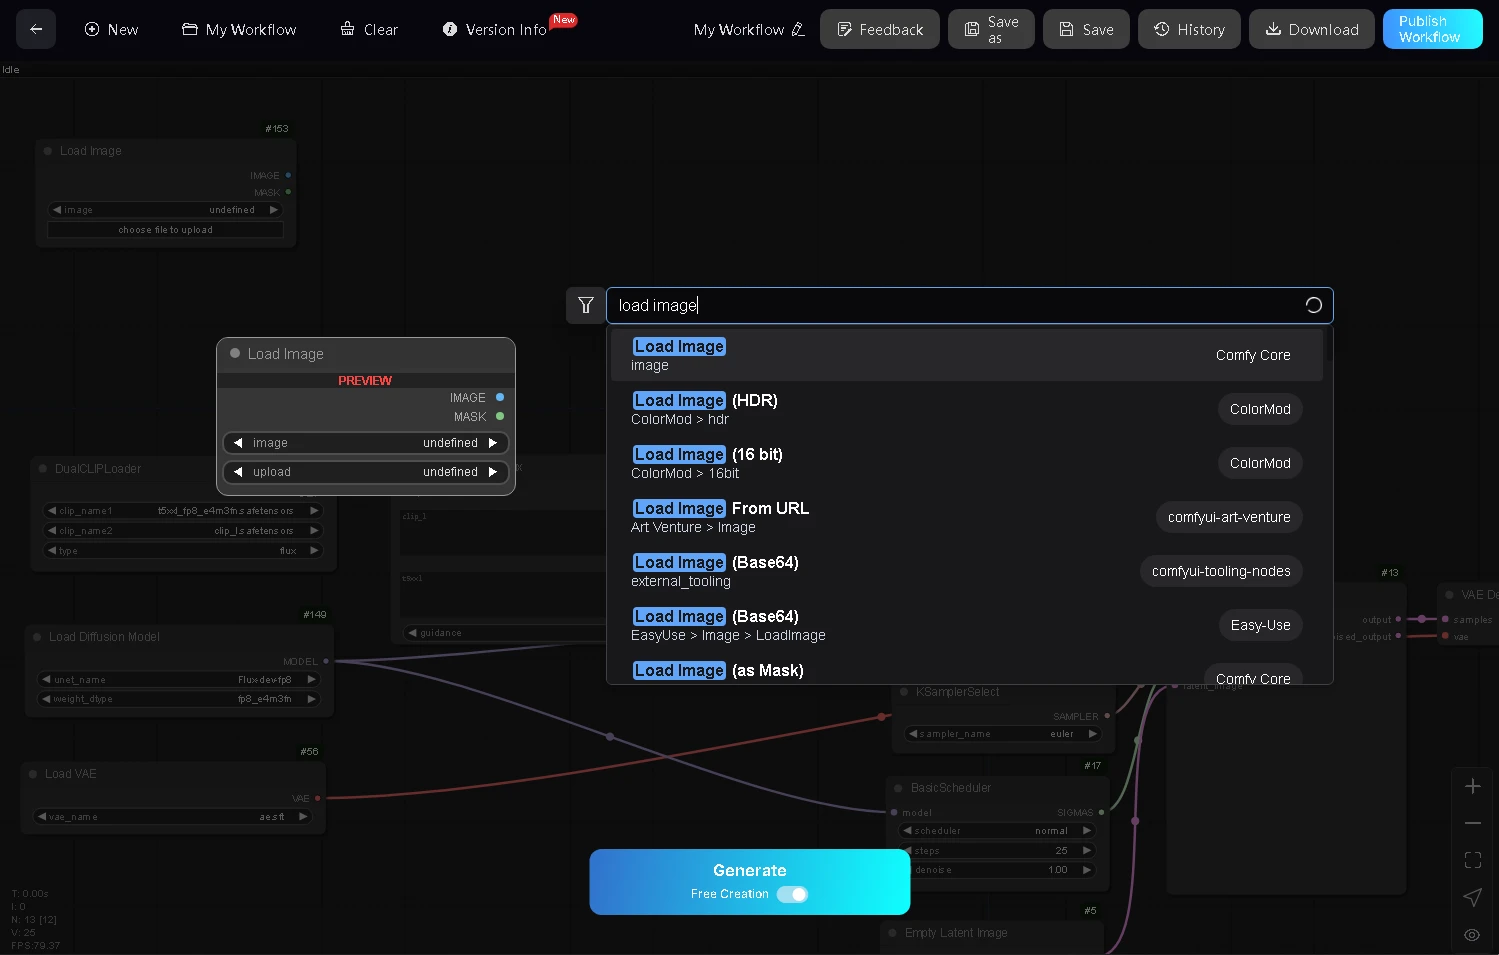
Instead of right clicking and scrolling through dozens of sub menus, if you double click with the left mouse (regular click) you will bring up the search node window where you can type in any keyword such as load image, sampler, preview image, reroute etc. This is an essential tool to speed up your process especially using lots of nodes in one workflow.
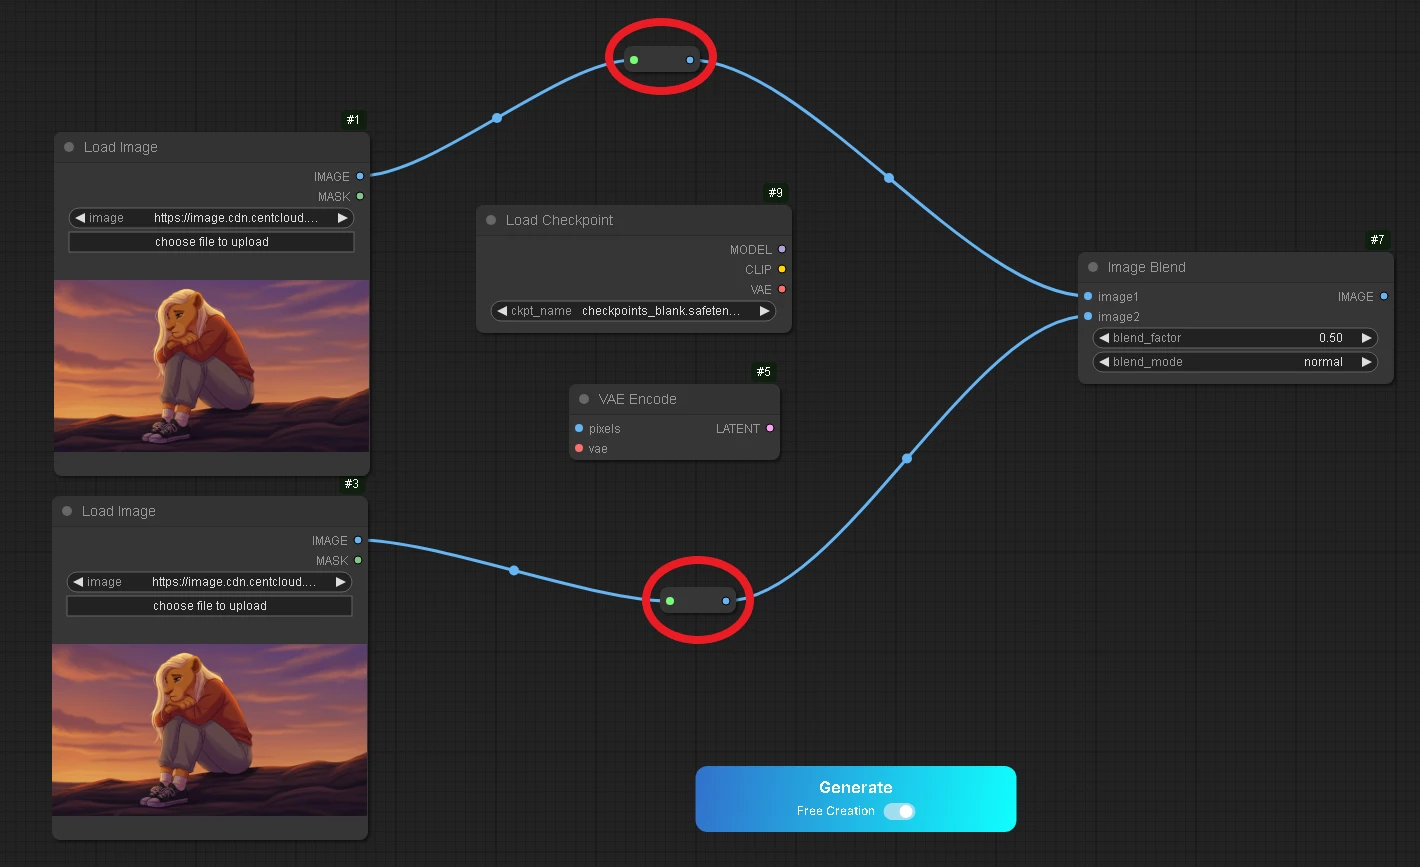
Reroute is a comfy core that allows you to clean up the color node connectors by rerouting them around nodes instead of behind them. This can help to ensure visually that all nodes are connected properly for signal flow.
Nodes have different properties depending on the node type you select. Some have inputs and output. Some only have inputs, some only have outputs. The same type of input and output is required to make a valid connection. dragging a model or a clip connection will not connect to a image input/output etc. model to model, clip to clip, image to image etc, some nodes convert a signal such as latent to image and image to latent.
Here is where trial and error, patience, persistence, and experimentation come into play. The workflow is sometimes reffered to as a canvas, you have the nodes at your disposal to create a workflow of nearly infinite types, it is up to you to ensure the signal flow is correct and the settings will run smoothly, the more nodes you add to your workflow, the more connections and potential for errors grows. I recommend starting with a preset from SeaArt, making an image with it, and building from there, be it img2img or control net, or adding a LoRA or GPT. These nodes sometimes require additional nodes to function, you can look in the guides and search online for answers. The nodes are building blocks and you are in complete control of how large the scale of your workflow becomes.
You are able to select individual nodes and select the option to bypass instead of deleting, and removing from the workflow. Bypassed nodes will be highlighted in purple.
To copy nodes you are able to Ctrl c & Ctrl v, as well as right clicking and selecting clone, this works on one node, multiple nodes with Ctrl click, and Ctrl a select all.
To clean up your workflow work space, you are able to hold Ctrl and select as many nodes as you choose to then right click convert to group and combine all the nodes into one node space, it is recommended to leave the nodes you adjust settings such as CFG weight out of this group. I find this helpful for signal flow nodes that sometimes clutter the workflow when you add numerous nodes, you can simplify your layout after ensuring proper functioning signal flow. To revert this change right click the group and convert to nodes.
You are able to name and save your workflows and reopen them later. You also have the option of downloading a .json file of your entire workflow which you can import.
Comfy UI will give you error messages if your workflow signal flow and settings are incorrect, and will usually highlight the problem area in a red circle along with the error in red text within an error window. Sometimes its an easy fix such as connecting a missing node connector or switching checkpoint models.
Once you have made a workflow you are happy with, you have the option to publish the workflow as either a workflow to be opened again in Comfy UI, or make a stand alone app, which are then available by search under AI App.

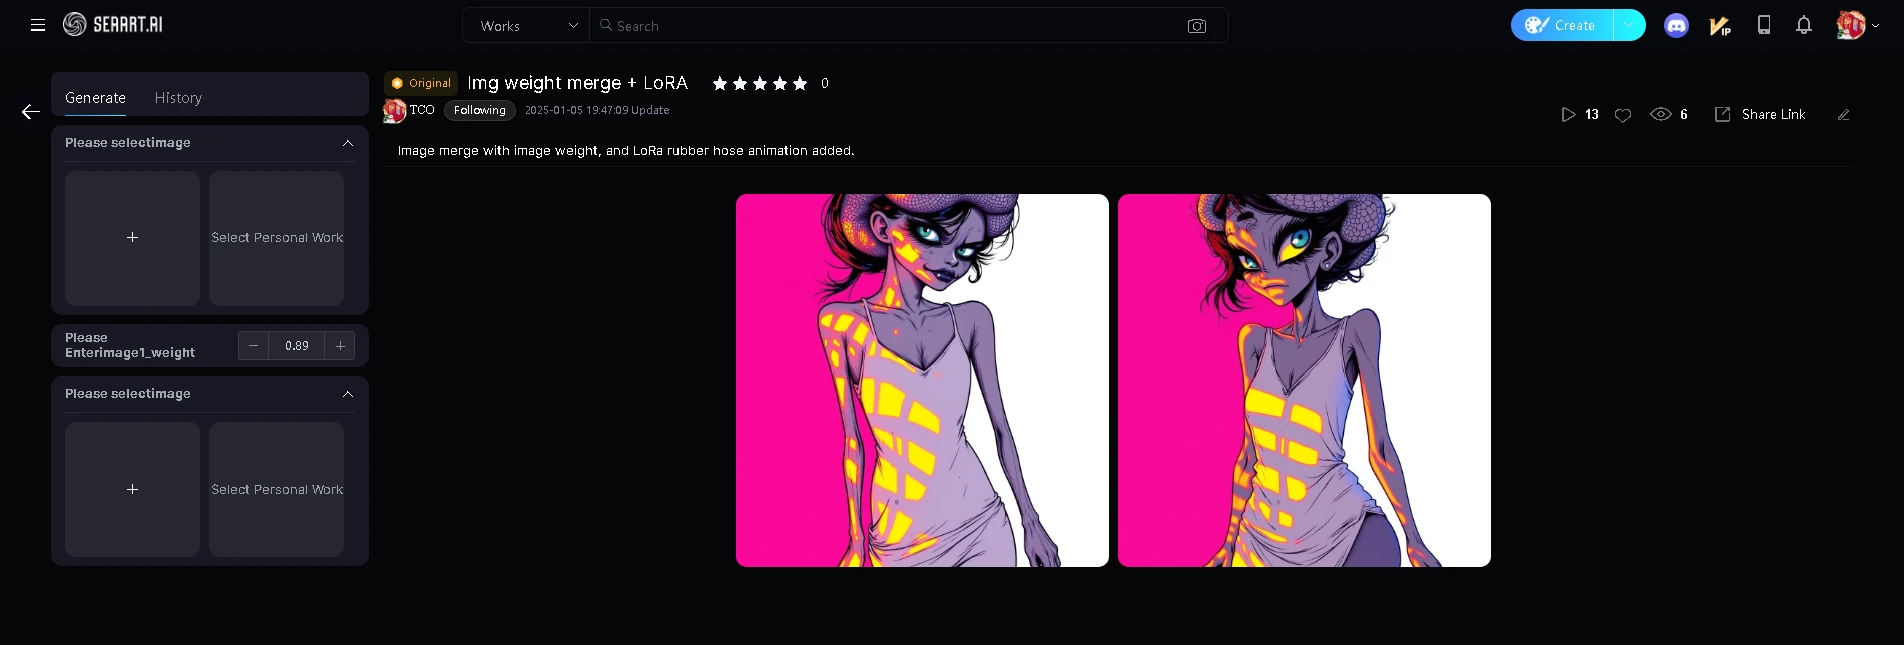
There are numerous apps available under the AI Apps section to explore and get vast ideas for making your own workflows. From background removers, to image upscales and face swaps.
It's recommended to read the FAQ in the SeaArt guide as well, for information such as proper diffusion loaders and VAE for Flux (different than SDXL)
There are SeaArt profiles such as https://www.seaart.ai/user/L001 where you can browse over a hundred comfy ui workflows and select Try to load the workflow.
Comfy UI is an advanced UI for more control over the image output, it requires more of the end user than the legacy mode generation, it is a matter of personal preference and needs of the user. To use Comfy UI will require more time and skill, but increases image control drastically.


